Principal Account
Description
This section outlines the procedures for managing the principal account and sub-accounts, including viewing details, managing pre-orders, and adding new members.
View Account/Sub-Account Details
- Access Principal Account
- Log in to the C-Portal.
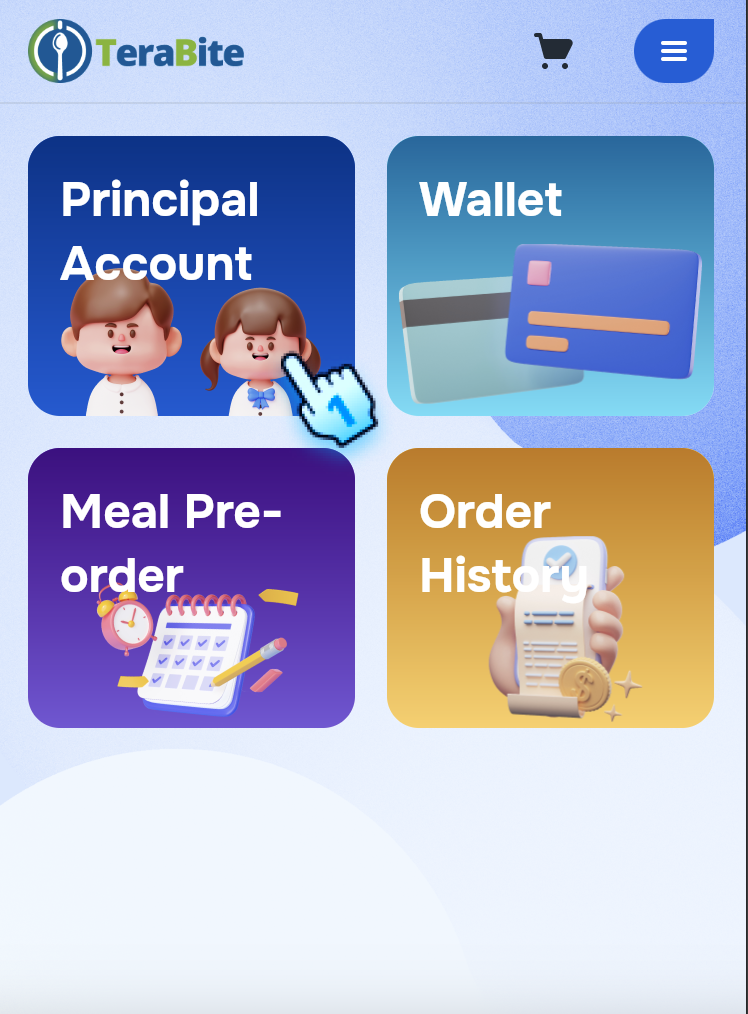
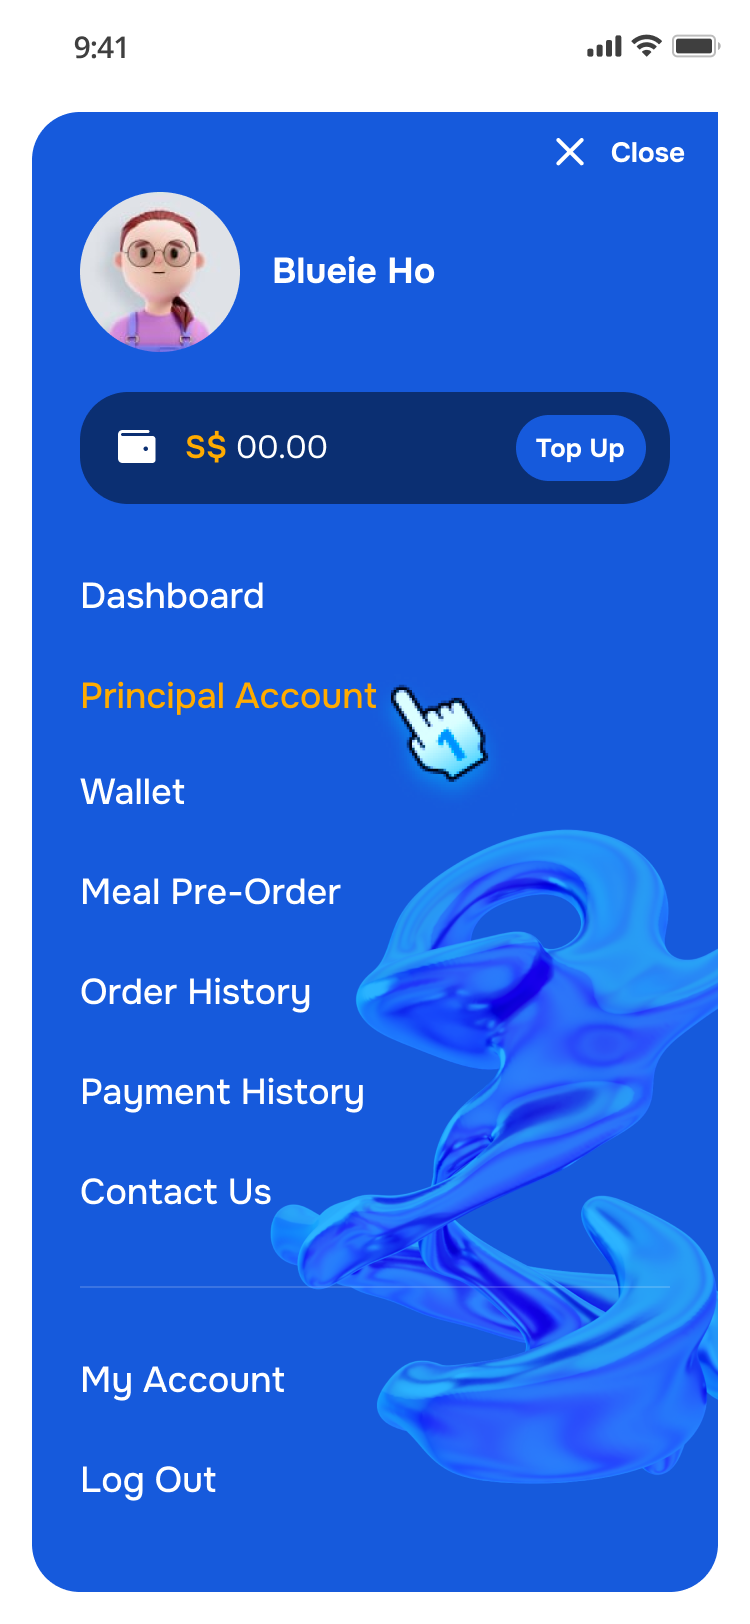
- Navigate to the Principal Account section on the dashboard or in the Menu
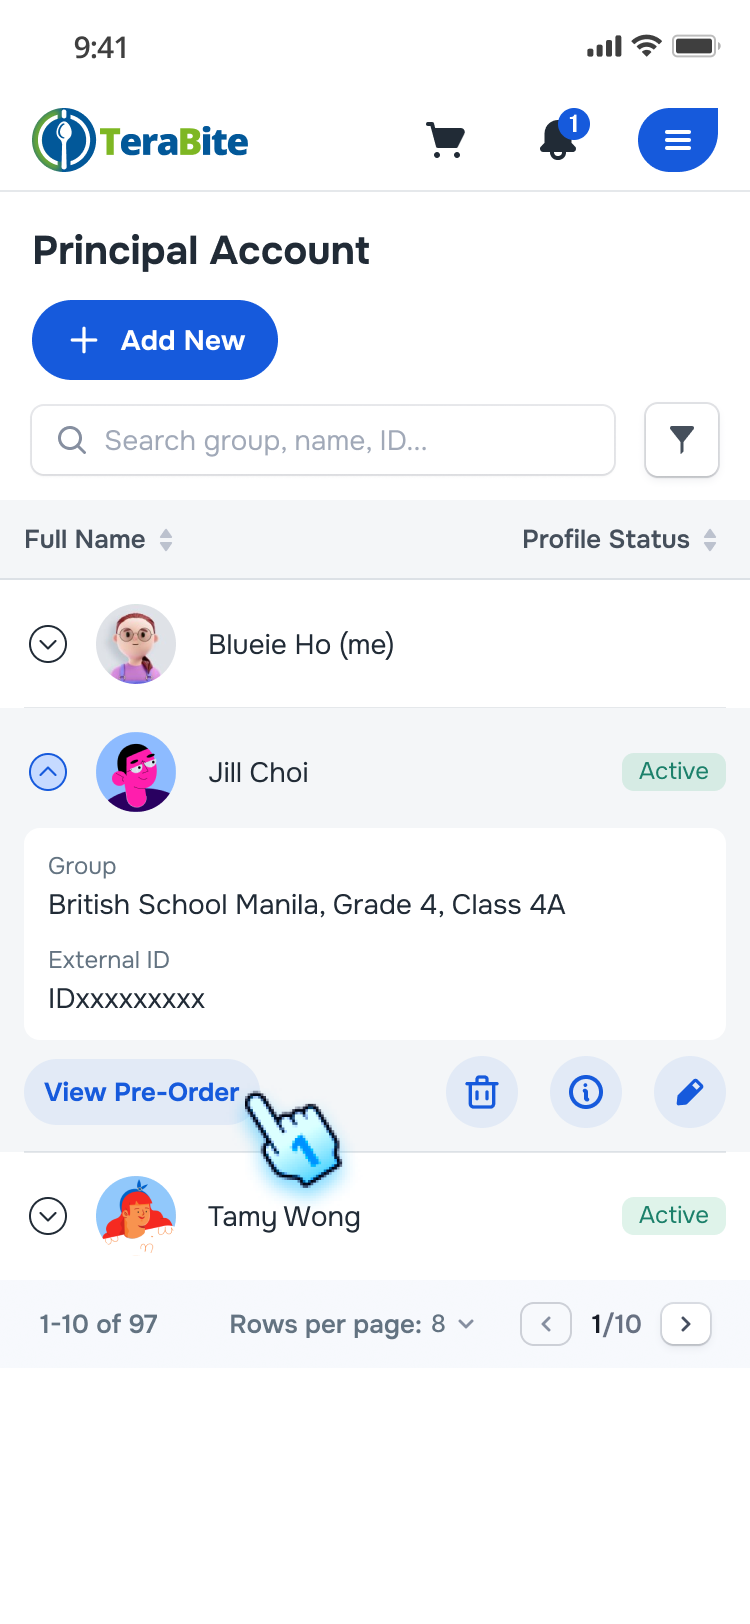
- The Principal Account page will display the list of accounts with/ without sub-accounts.
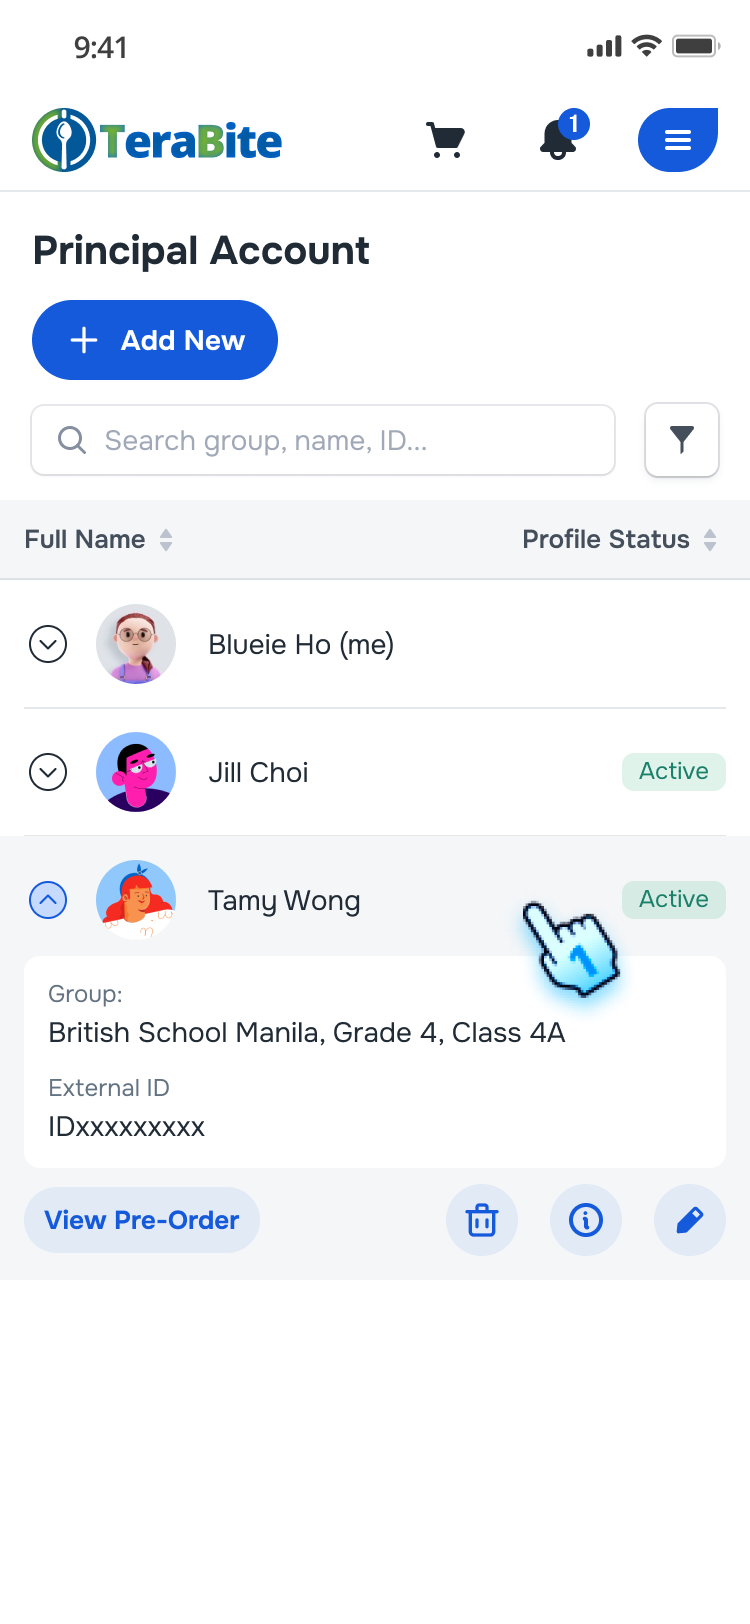
- View Account/Sub-Account
- Click on an account or sub-account from the list.
- The details of the selected account/sub-account will be displayed, including a "View Pre-Order" button.
- For sub account, there are actions such as delete, view, and edit as described in Sub-Account Management section

- Add a new Sub-Account
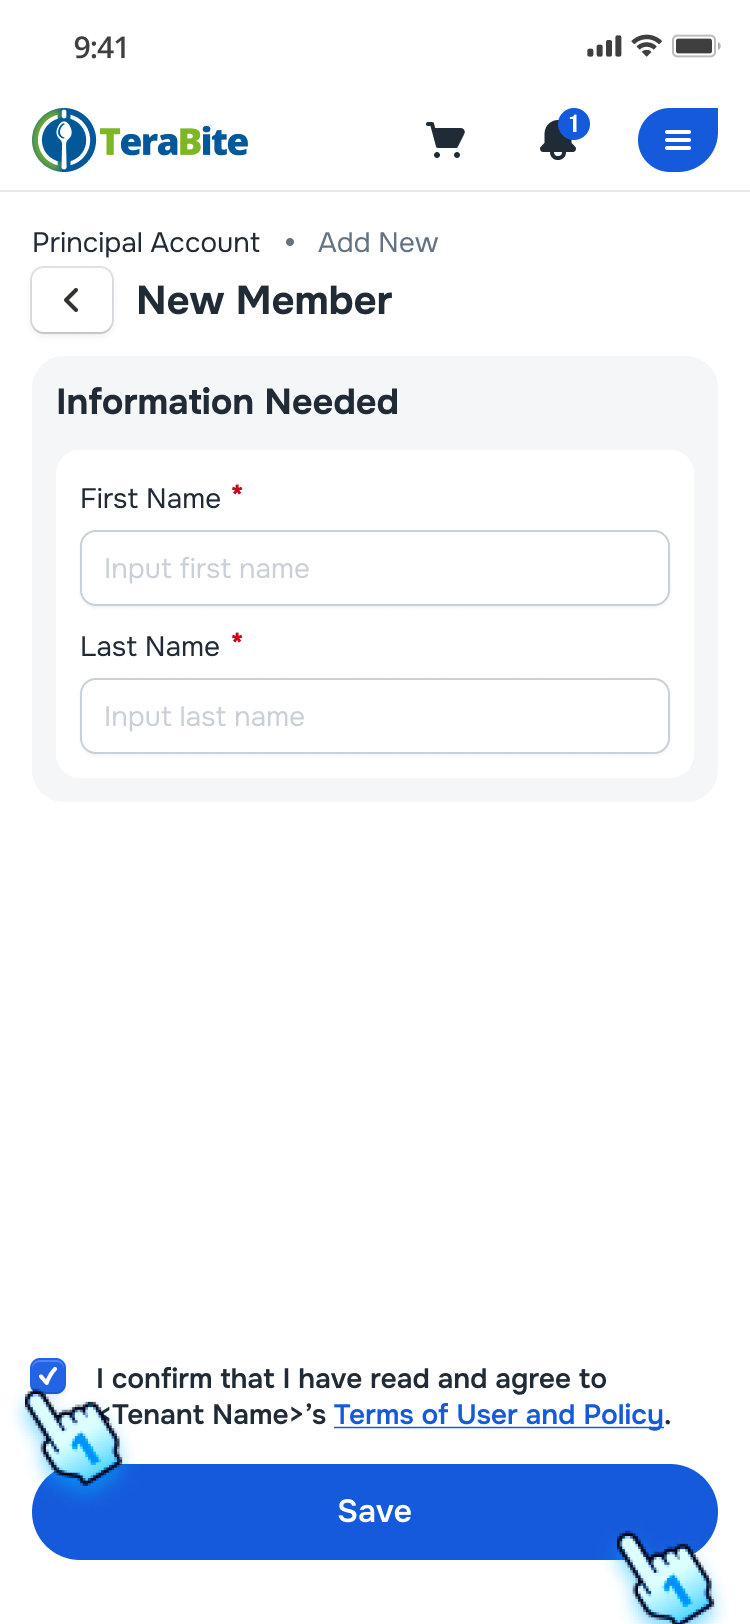
- Tap on the "New Member" button.
- The new member creation form will be displayed.
- Enter New Member Details
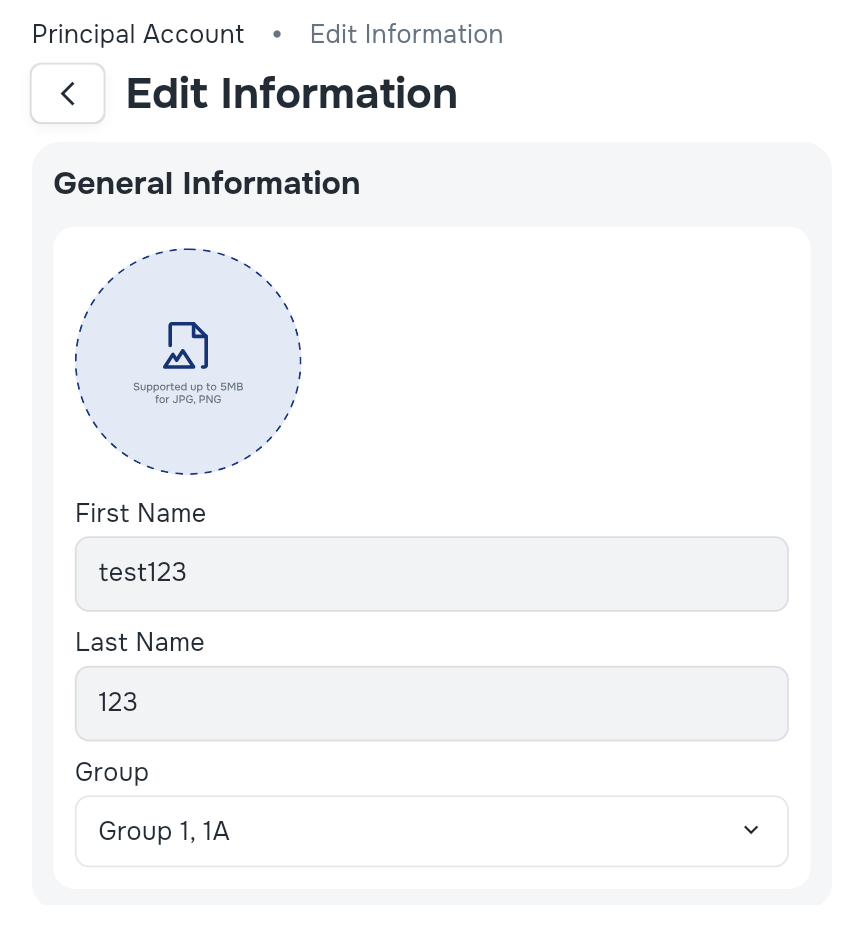
- Fill in the required details for the new member (e.g., Firt name, Last Name).
- Check box to aggree with Term and Condition and Tap the "Save" button.
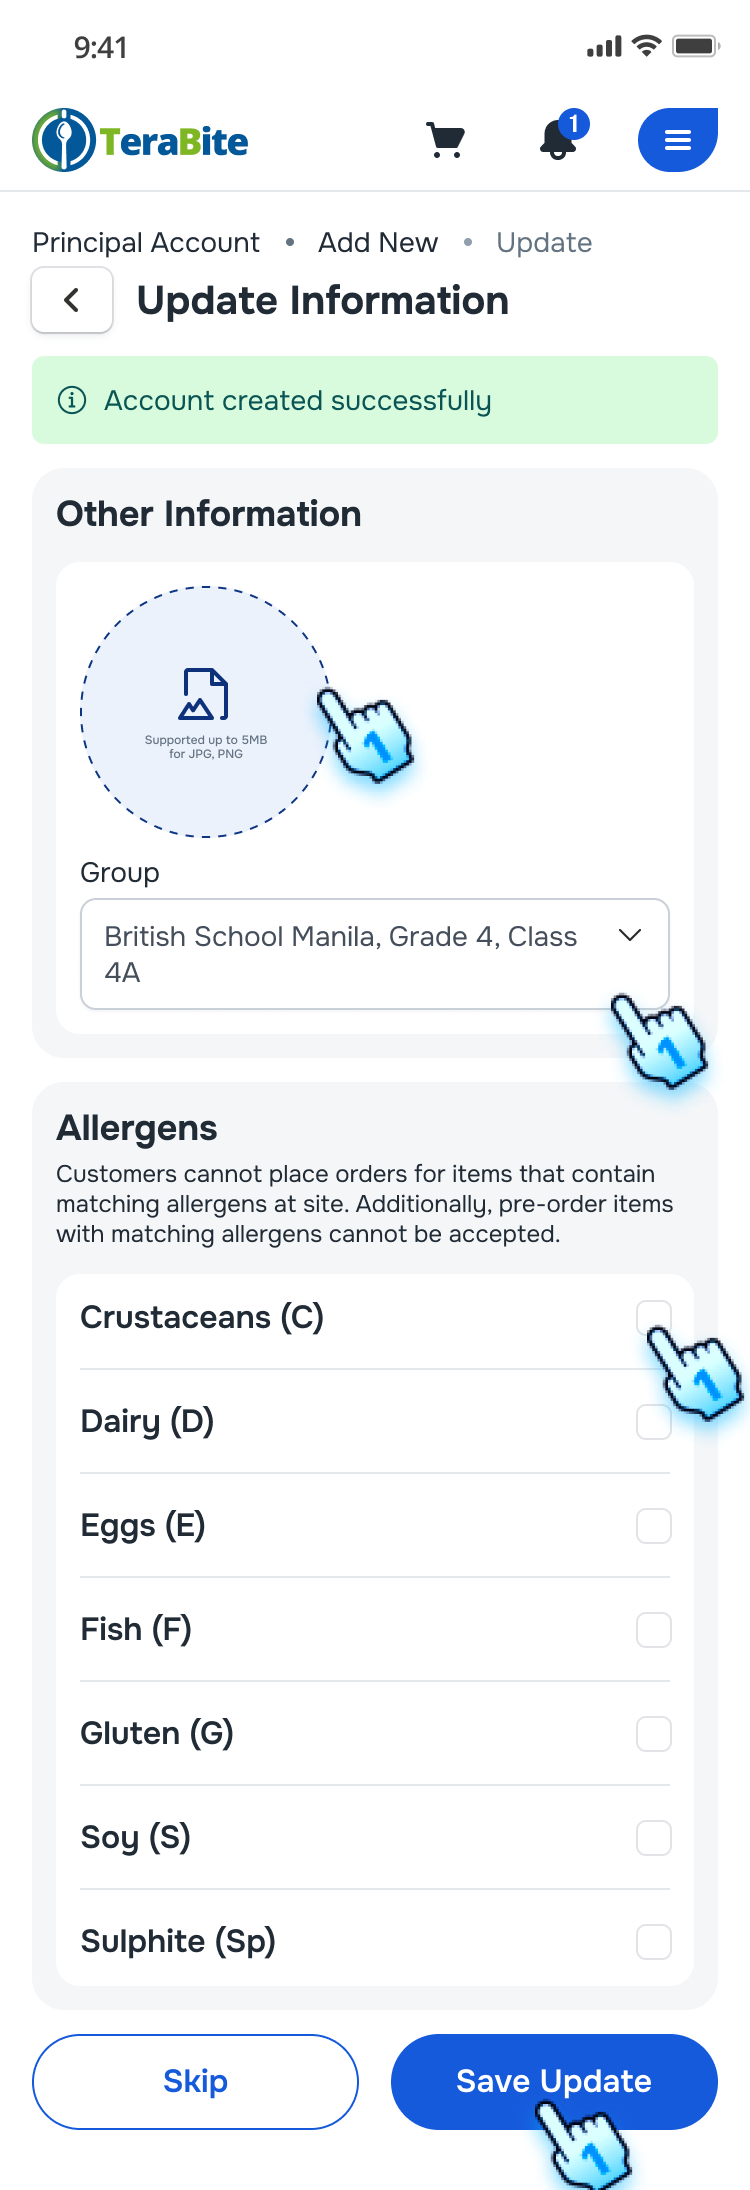
- A confirmation message will indicate that the sub-account has been created successfully.
- Other information will be updated optionally such as Profile Image, Group, Alergen, Banned Item.
Manage My Account
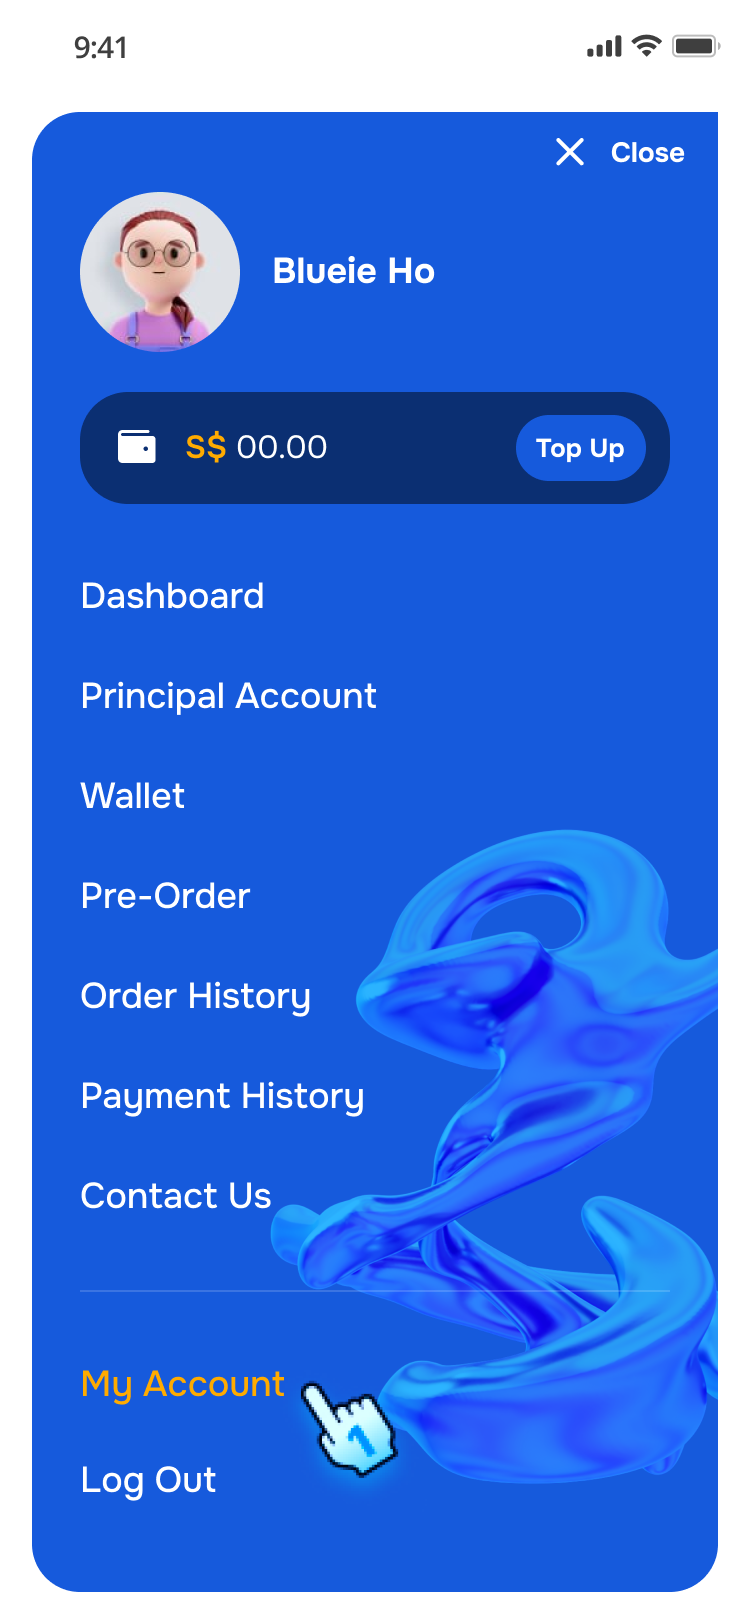
- Access to My Account
- Navigate to My Account in the Menu
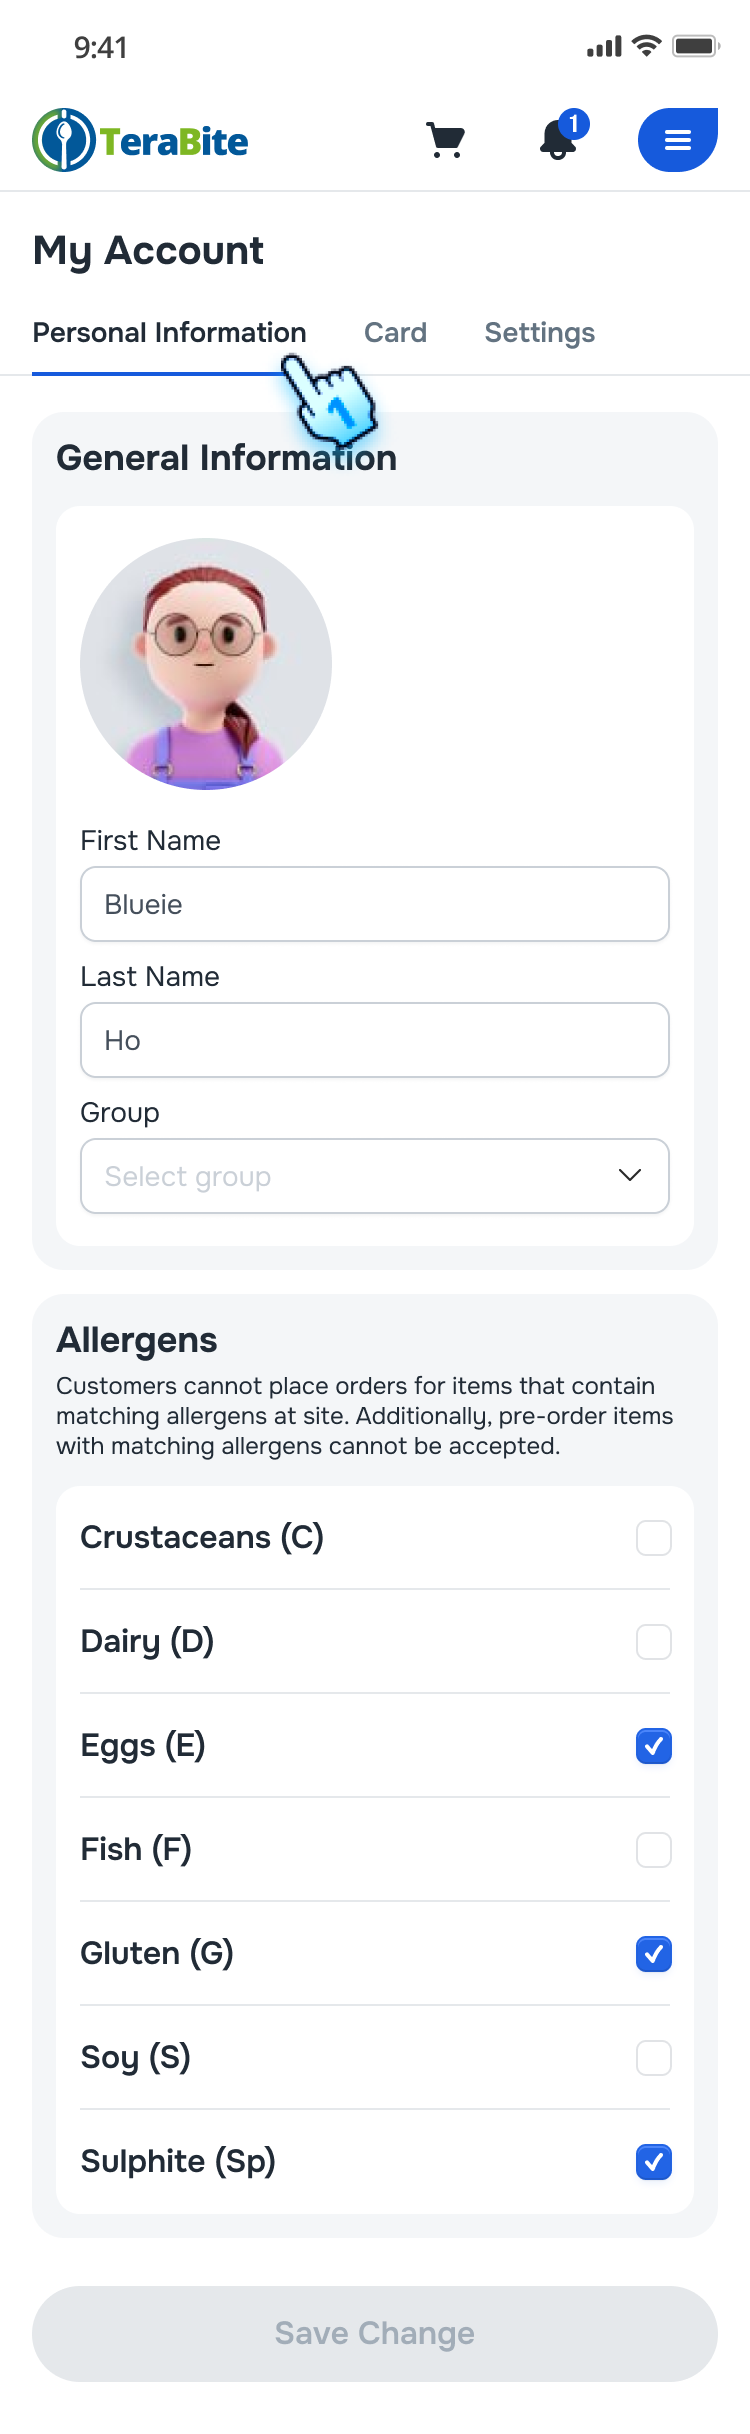
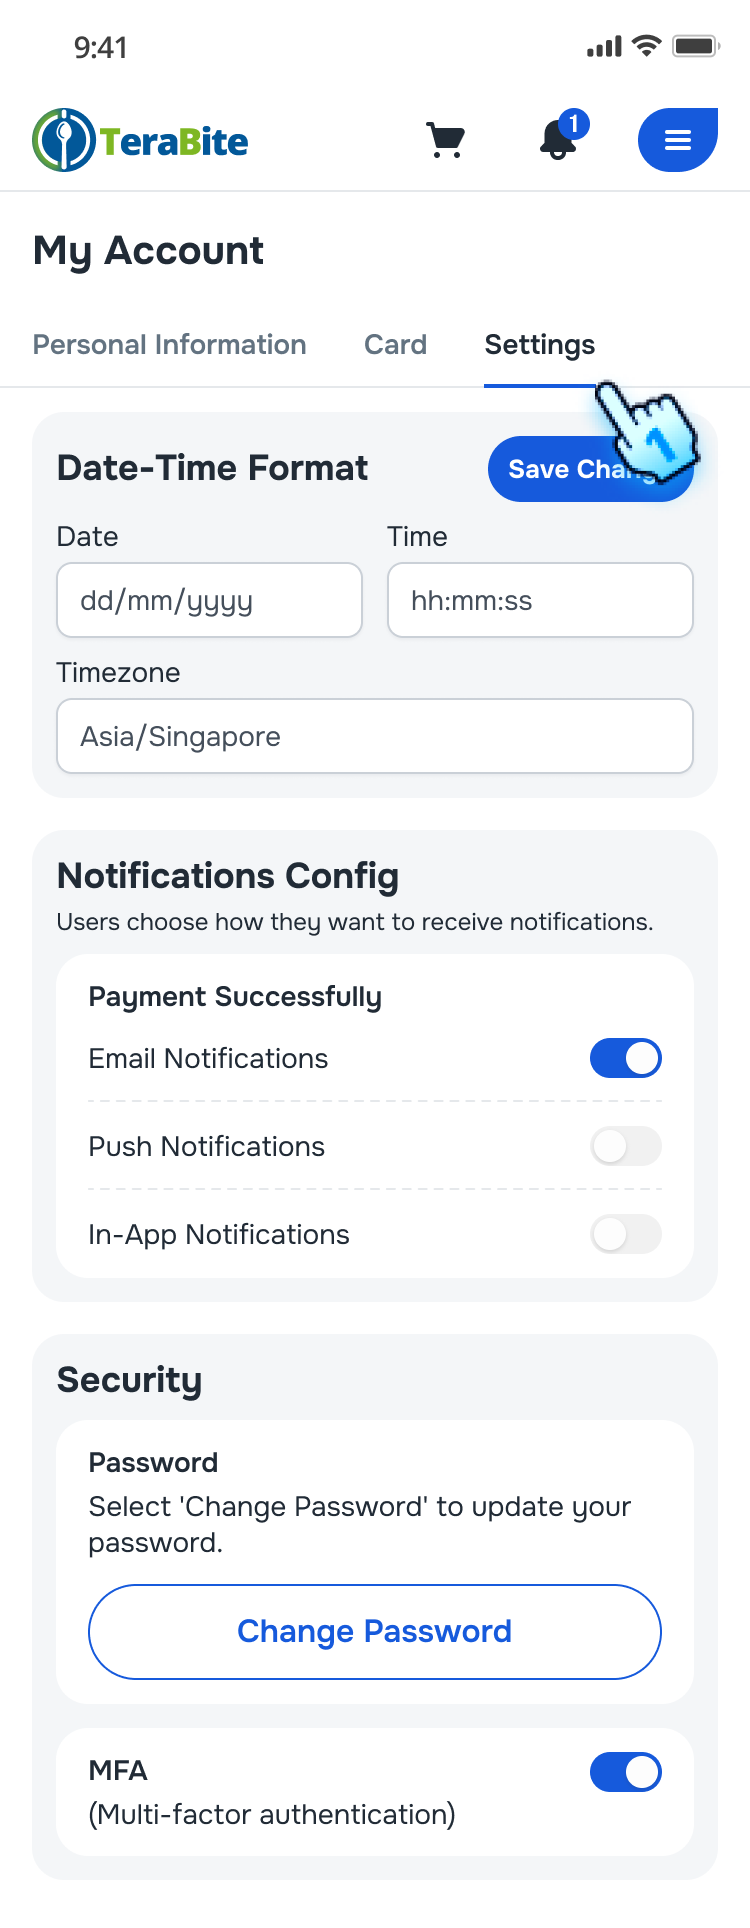
- Manage My Account
- Tap on each section on Navigation bar including Persional Information, Card, and Settings

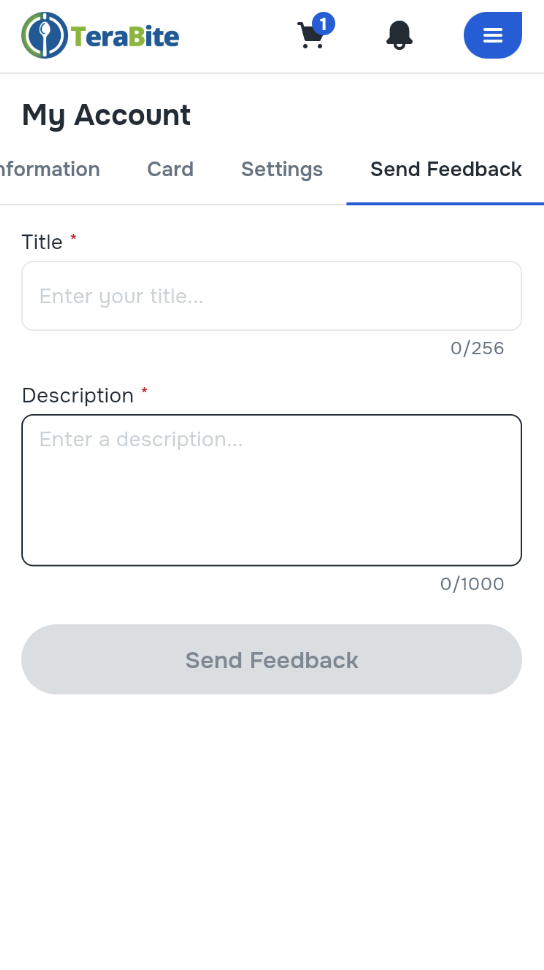
- Navigate to Send Feedback in the Menu
- Enter Title and Desciption
- Tap Send Feedback button
Sub-Account Management
- Manage Sub-account
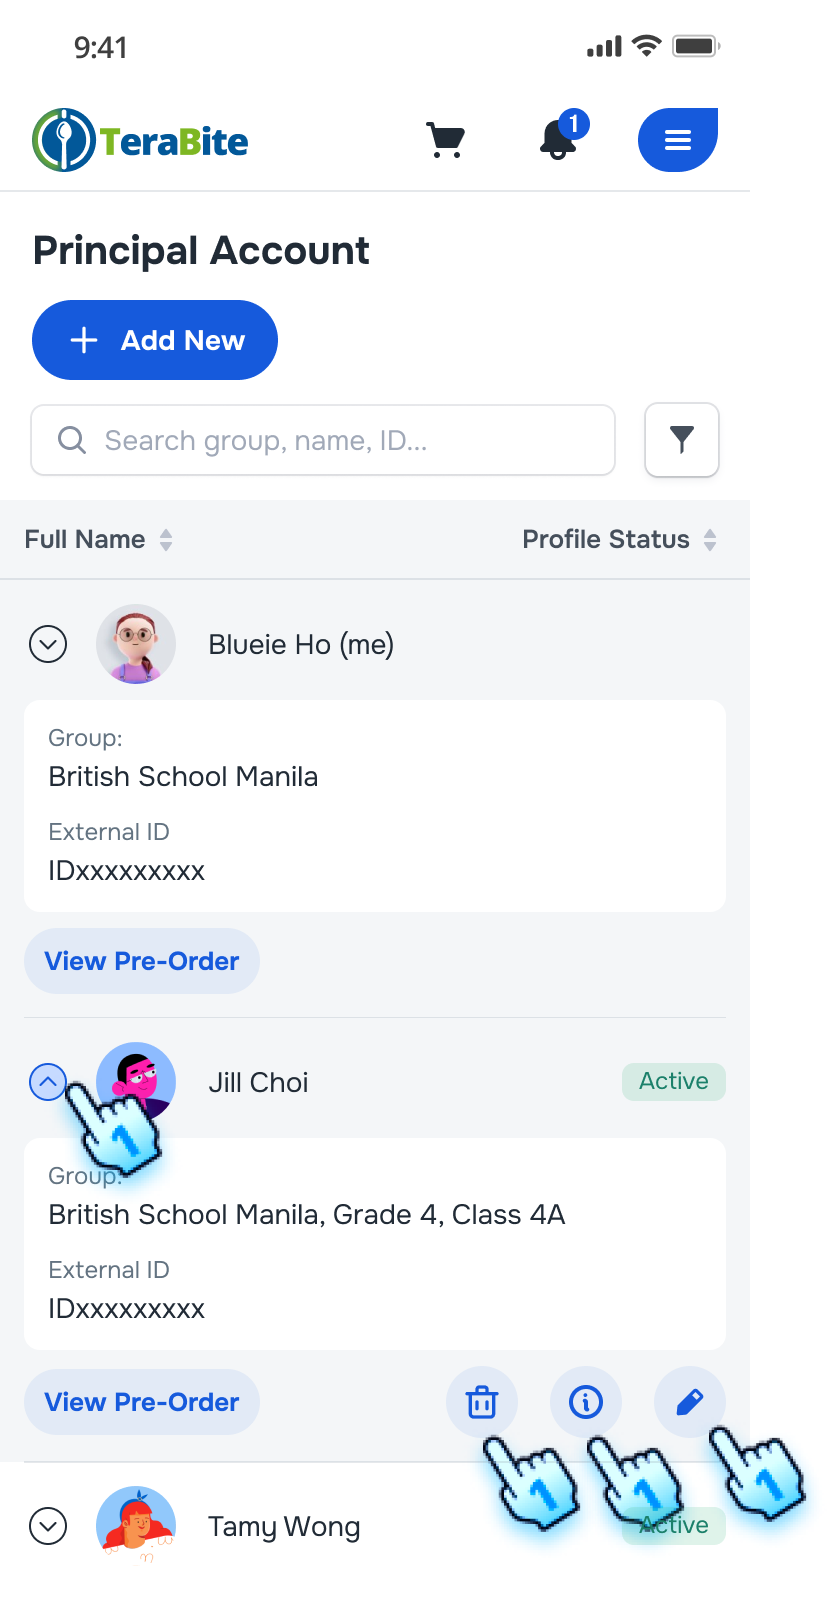
- Tap expand button to see the genaral details with actions.
- Tap to each action icons: Delete, View, and Edit.
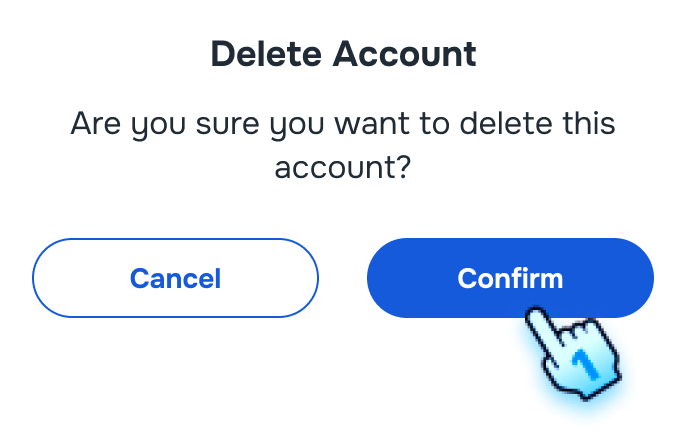
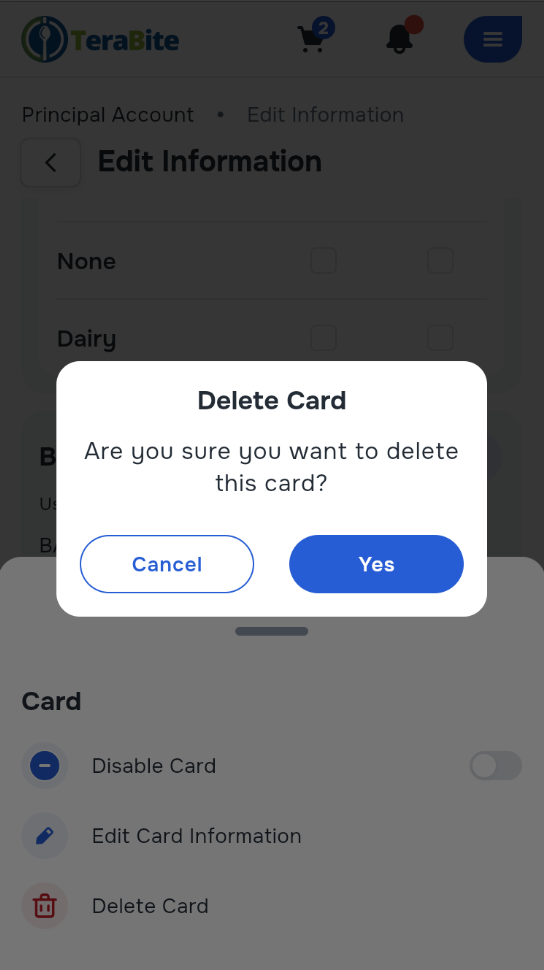
- Delete: Tap "Confirm" button in the confirmation dialog to process deletion

- View: Details of sub-account is displayed
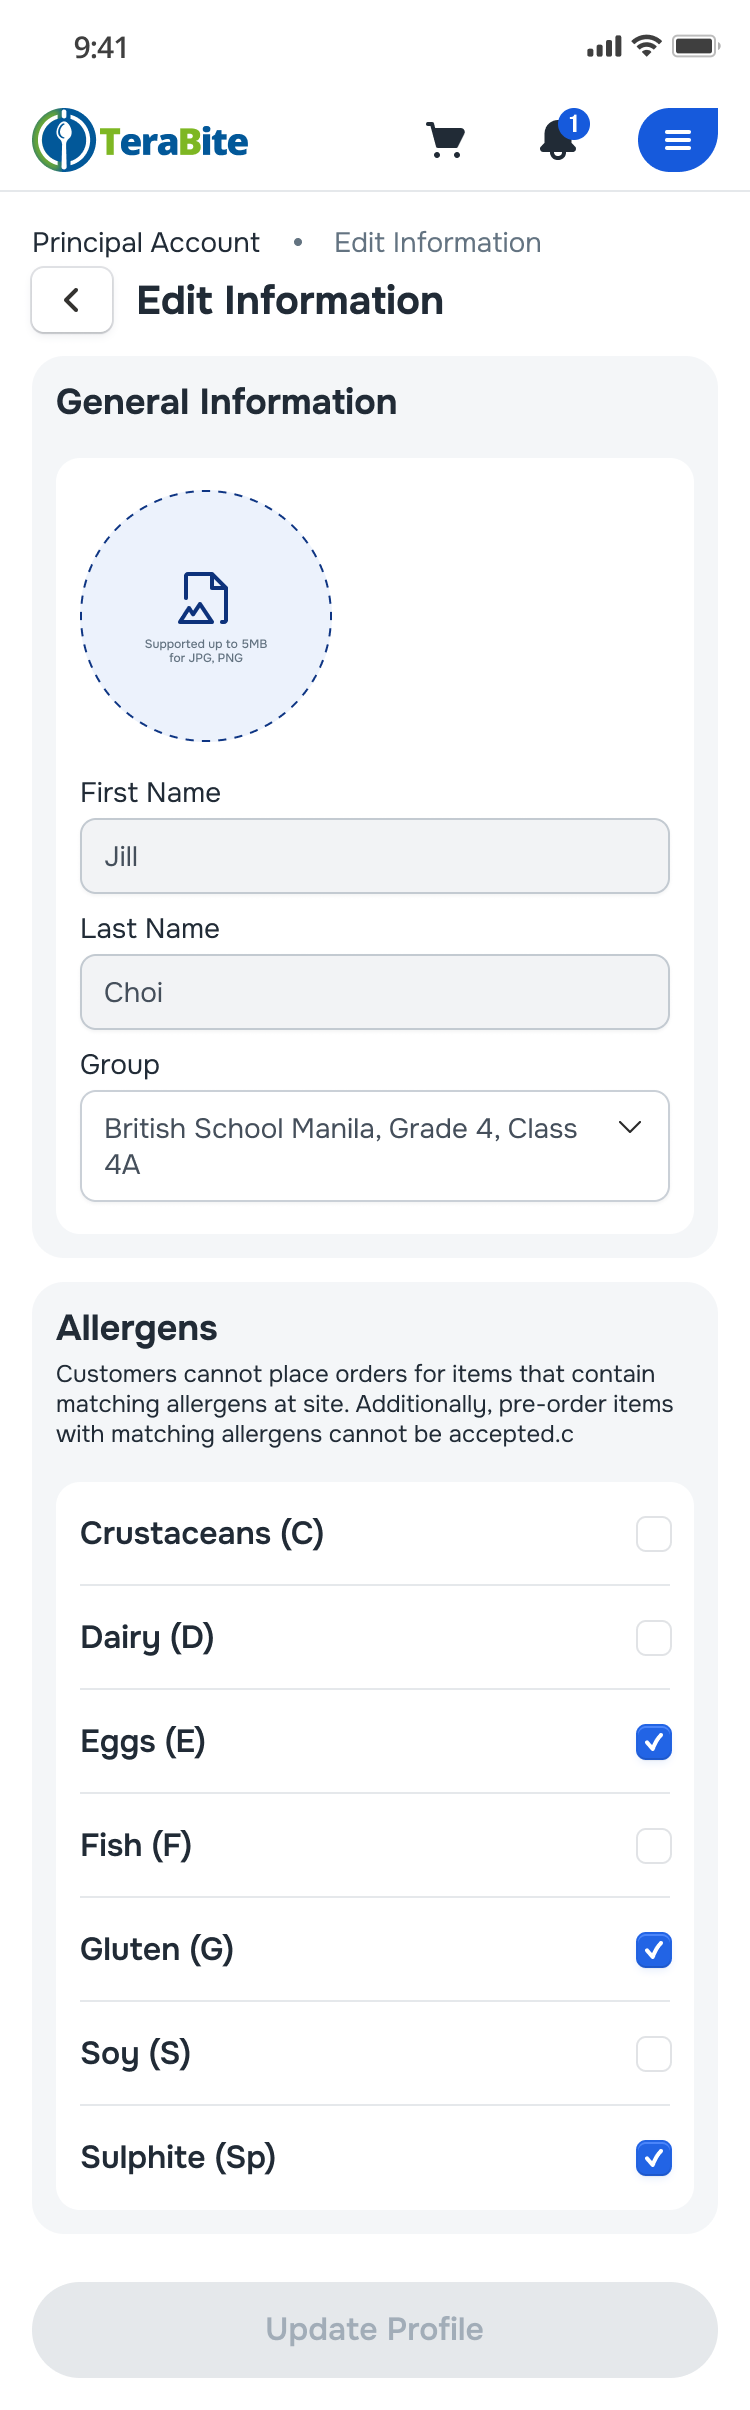
- Edit: View and update the sub-account details and Tap on "Update Profile" if there is any update
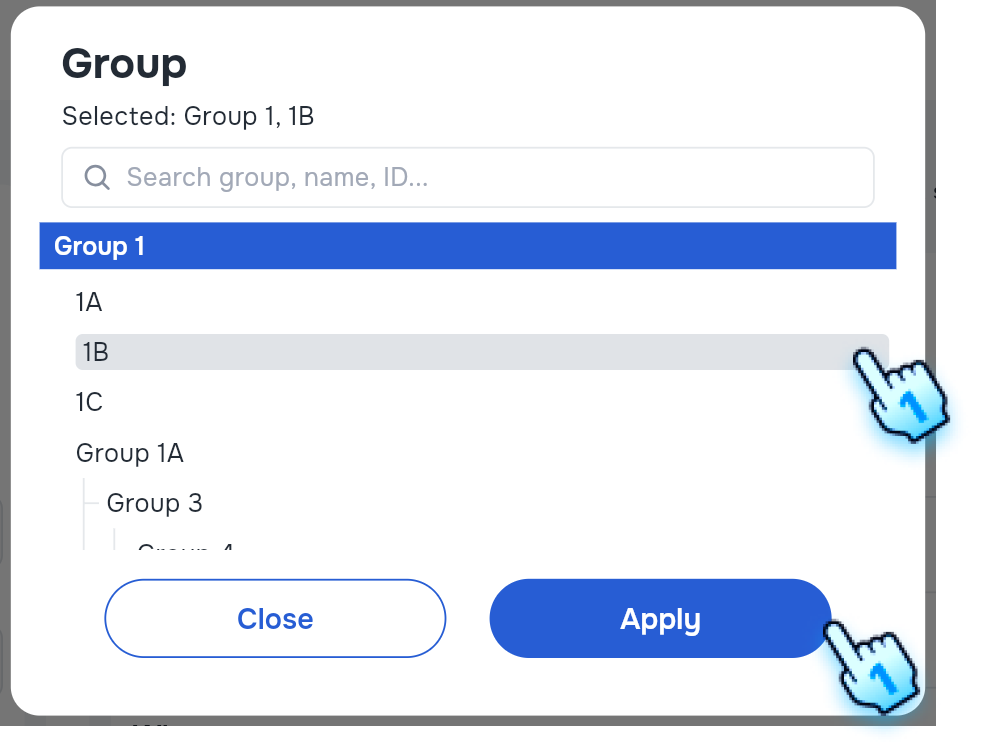
- Assign Group for Sub Account
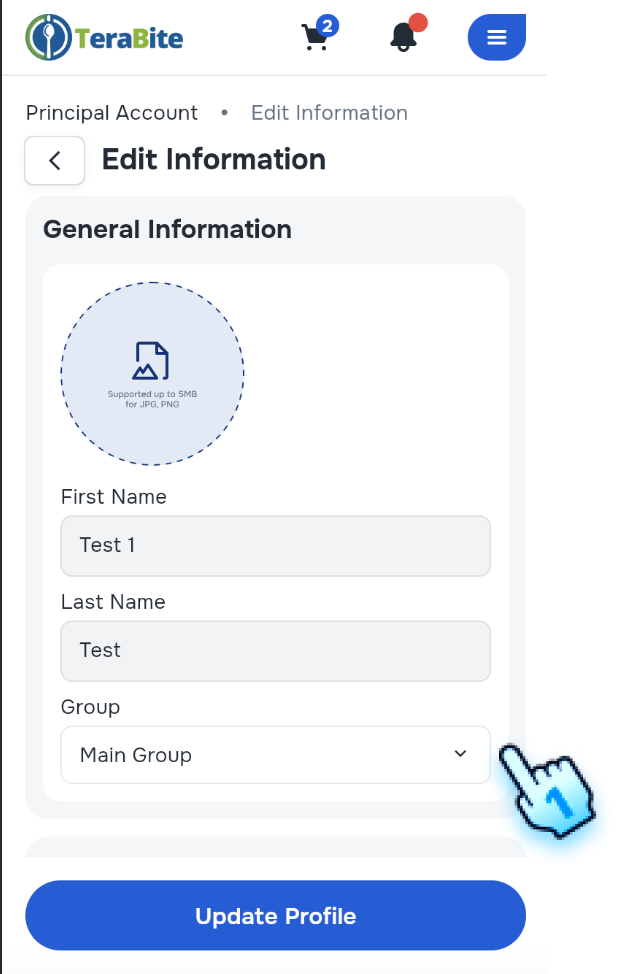
- Click on the "Group" option.
- Choose the desired group from the list.
- Click "Apply" button to confirm the assignment.
- Add Card for Sub Account
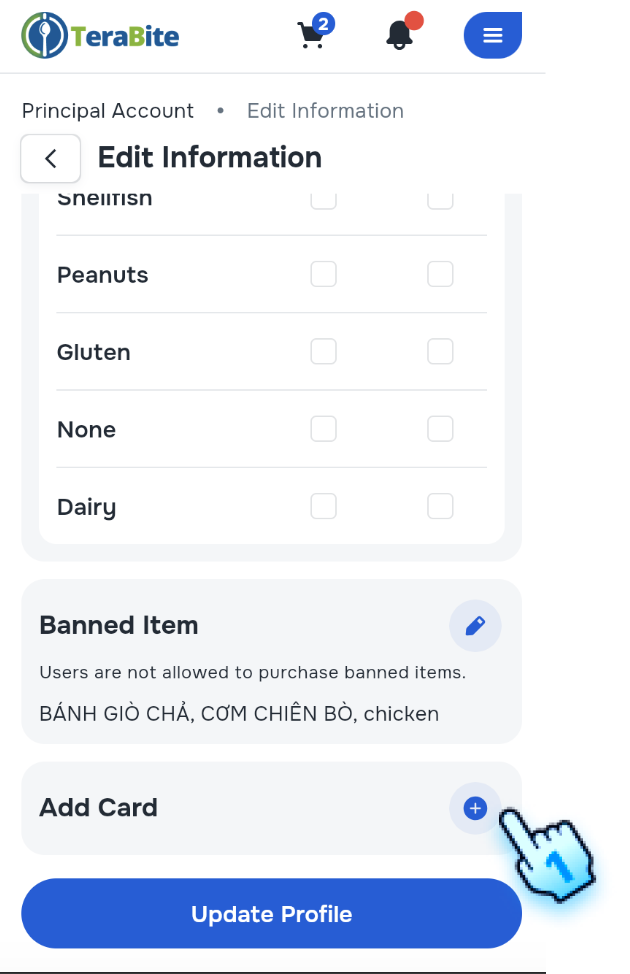
- Scroll down to Add card section.
- Click "+" button to add card.
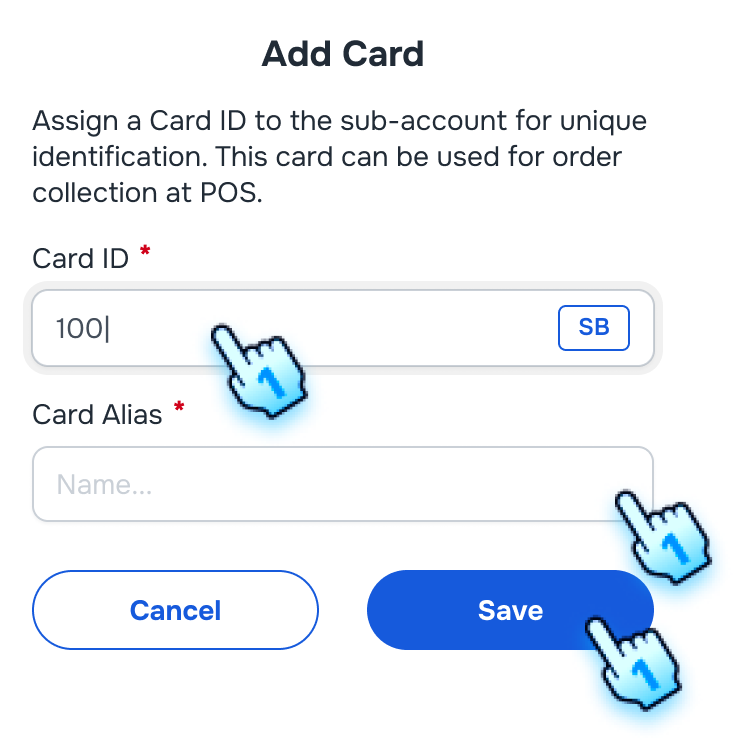
- Enter the card details, including Card ID and Card Alias.
- Save the card to the sub-account.
Note:
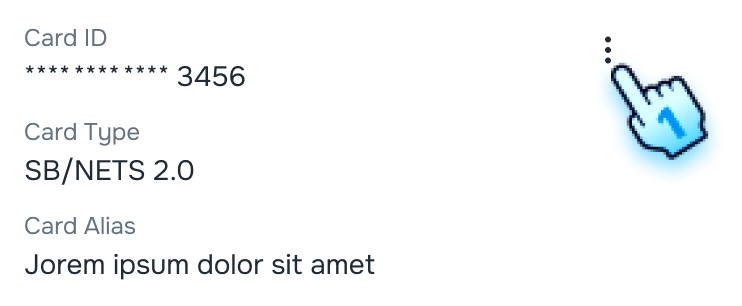
- Card Type tag (Eg. SB, EZ, CC, etc.) is displayed when enter the first 3 - 4 digits of the card.
- Smart Buddy card will show the ID masked with 4 digits displayed.
- Other card types will show a whole ID
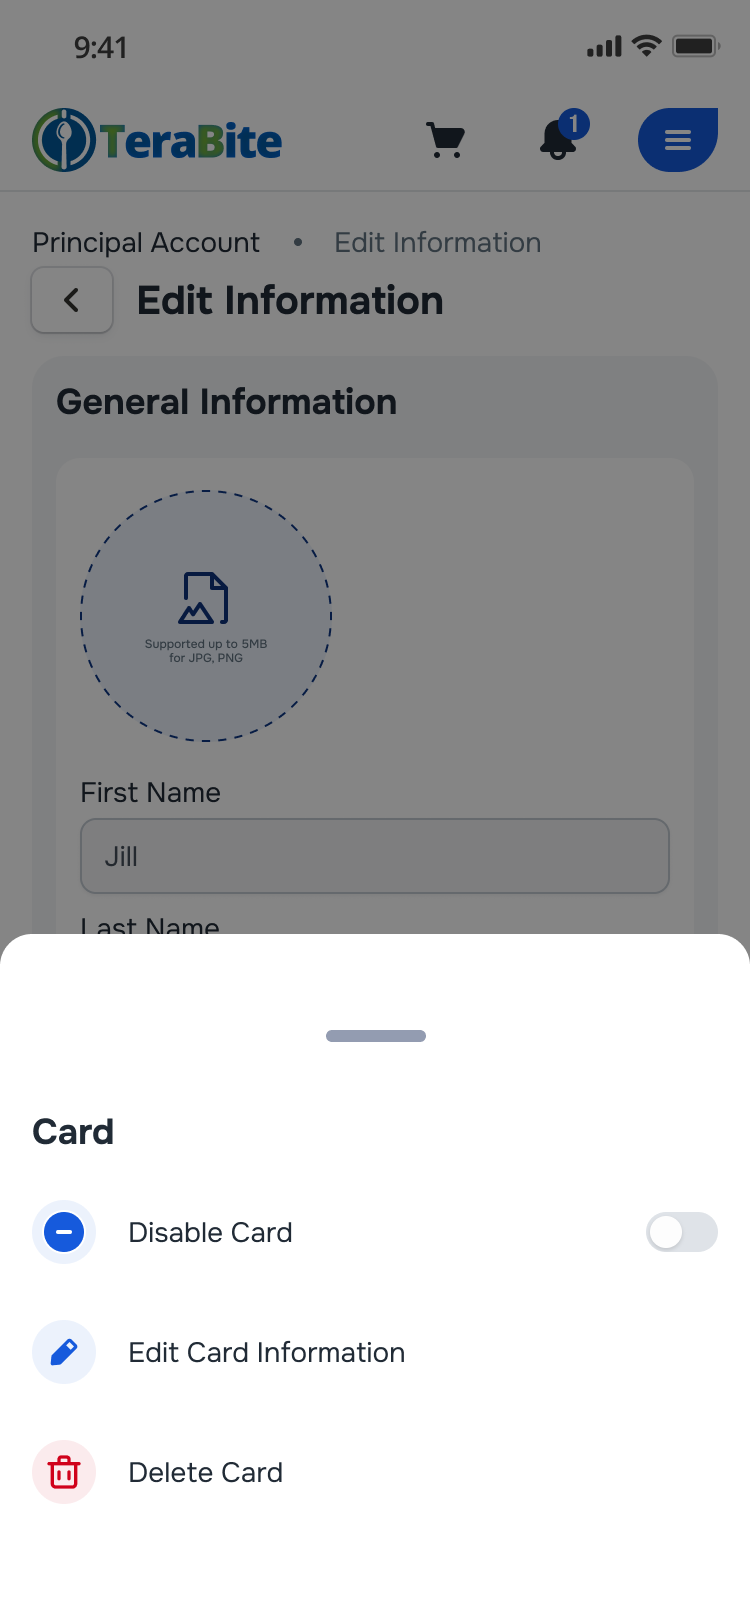
- Click to three dot of each card
- Perform actions as in the menu: Disable card, Edit card information, Delete card
Manage Pre-Orders
- View Today Pre-Orders
- Tap on the "View Pre-Order" button on the Account/ Sub-account card.
- The pre-order list for the selected account/sub-account will be displayed, including the current day's orders.
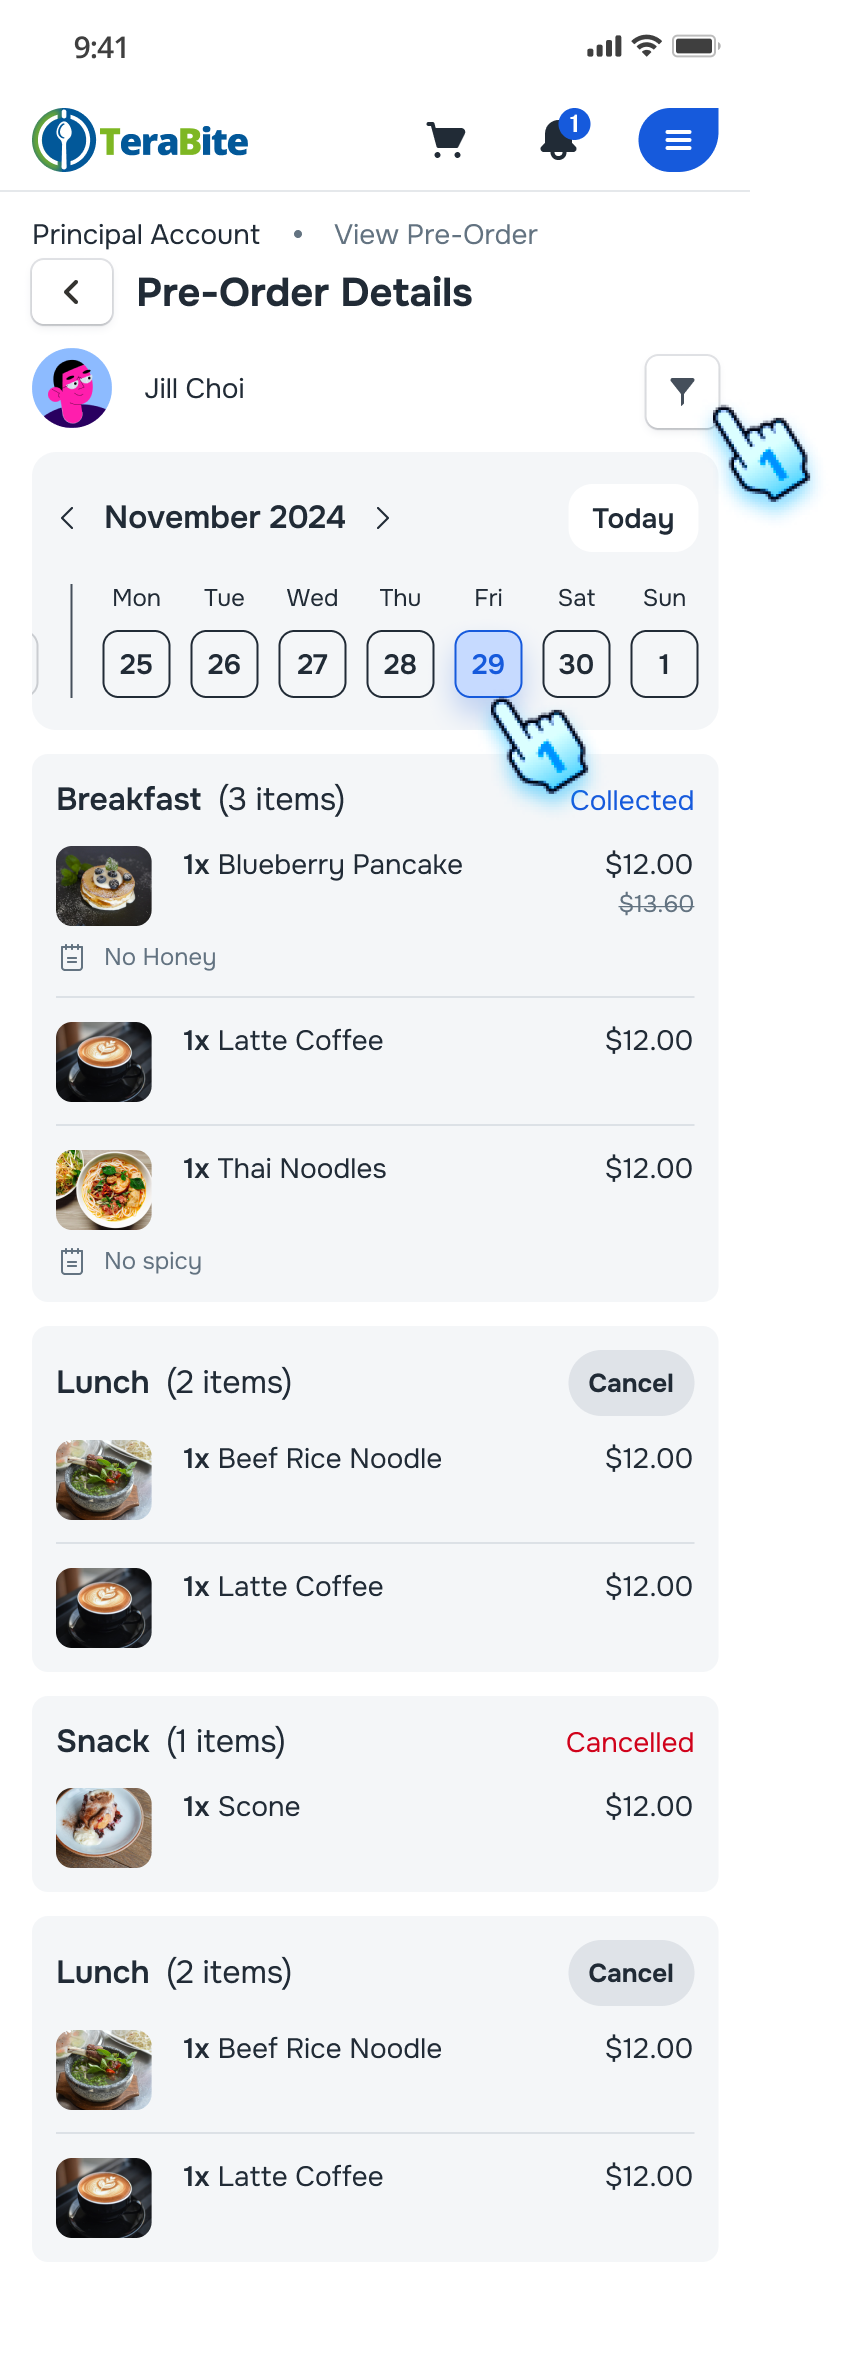
- View Pre-Orders by Day
- On the pre-order page, click on a specific day in the calendar.
- The pre-order list for the selected day will be displayed accordingly
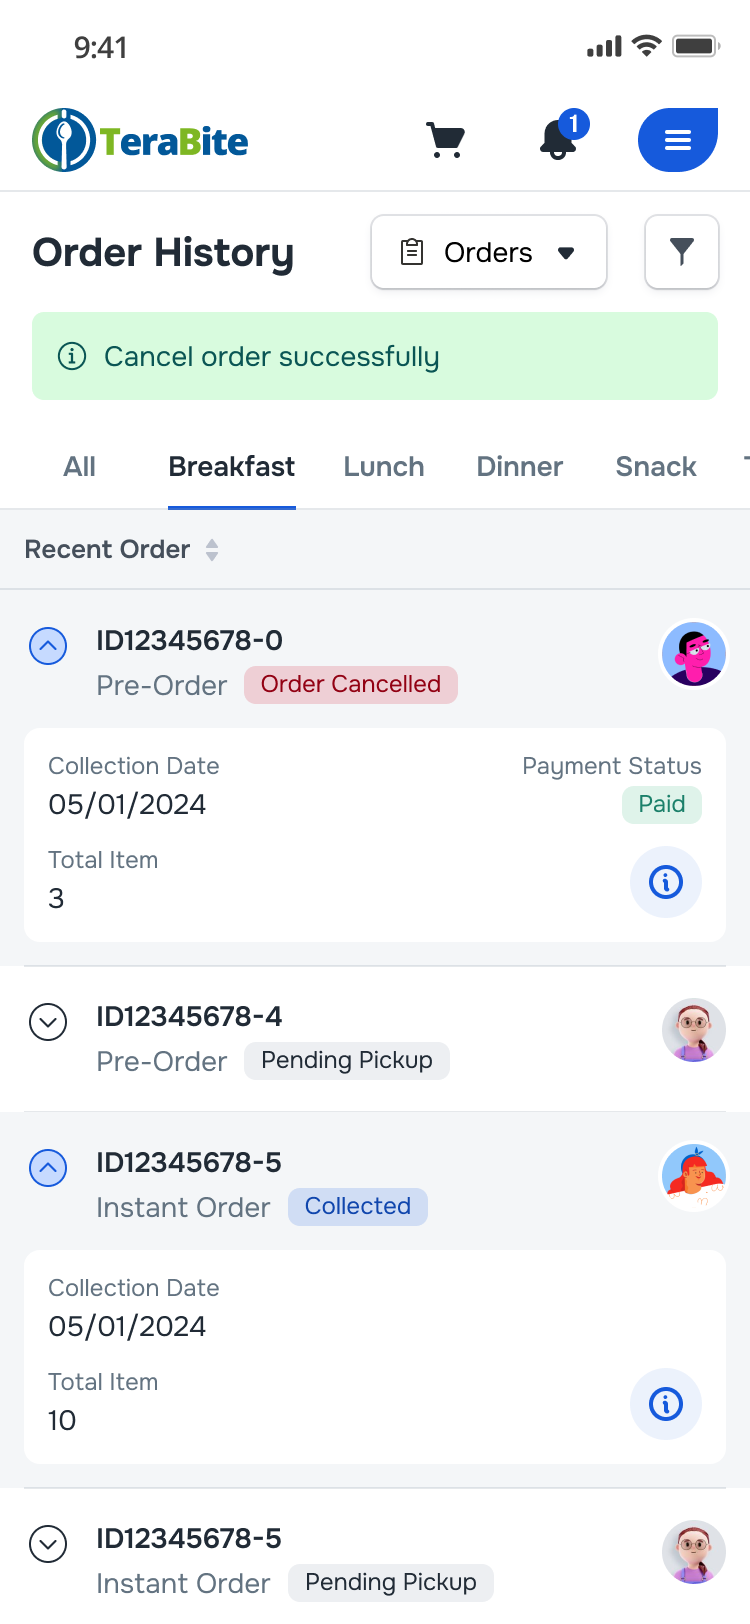
- Filter Orders
- Tap on Filter button
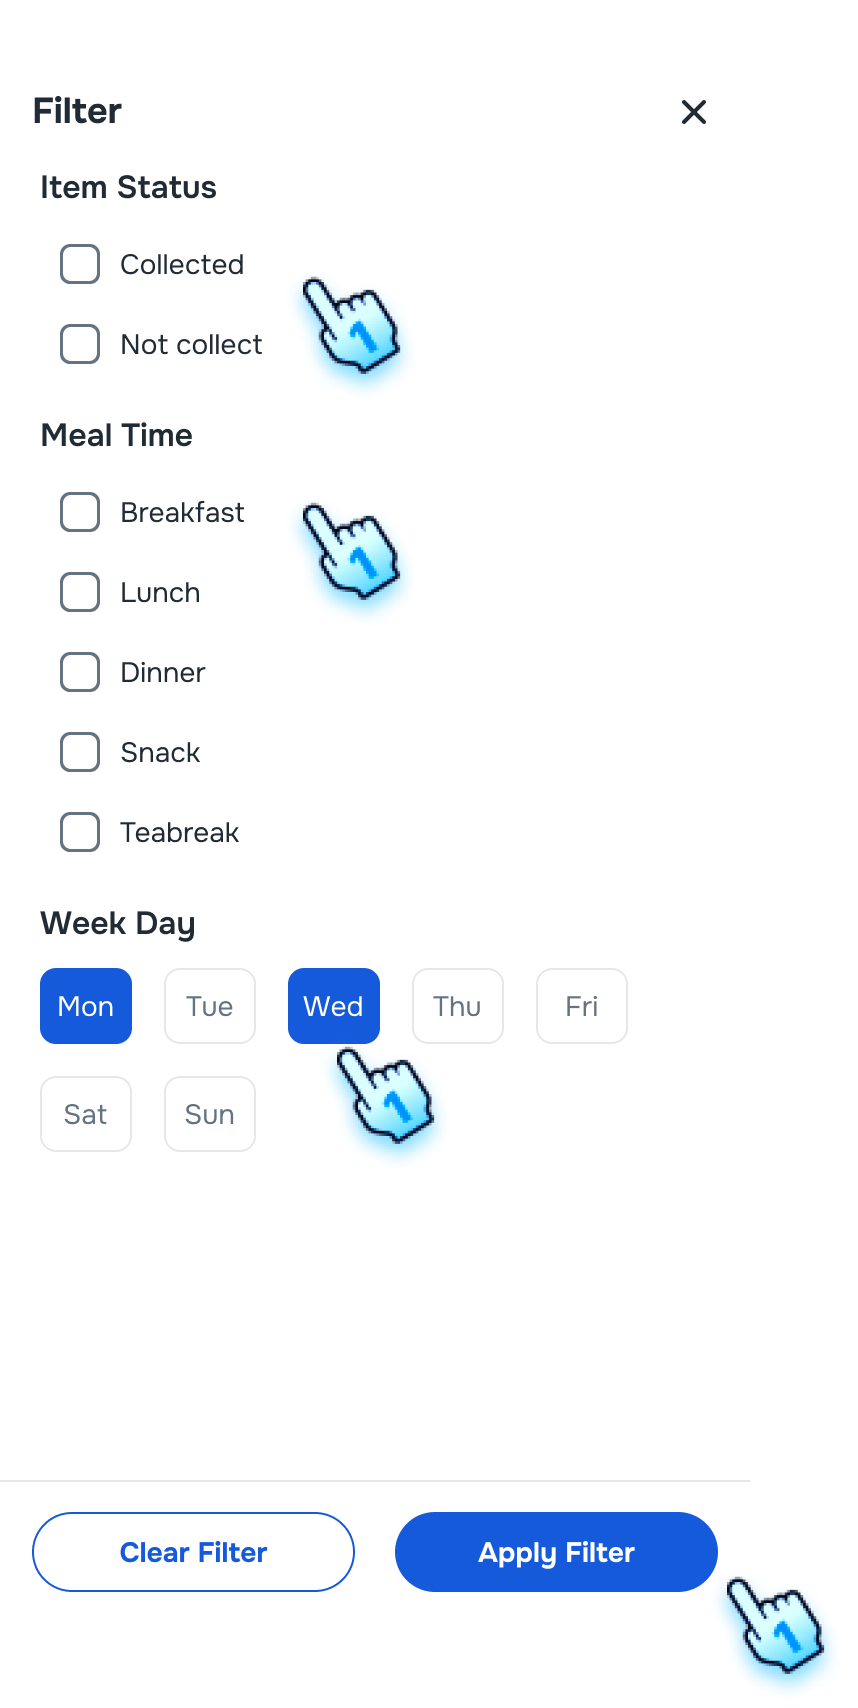
- Select Status, Mealtime, and/or Weekday
- The pre-order list for the selected day will be displayed accordingly
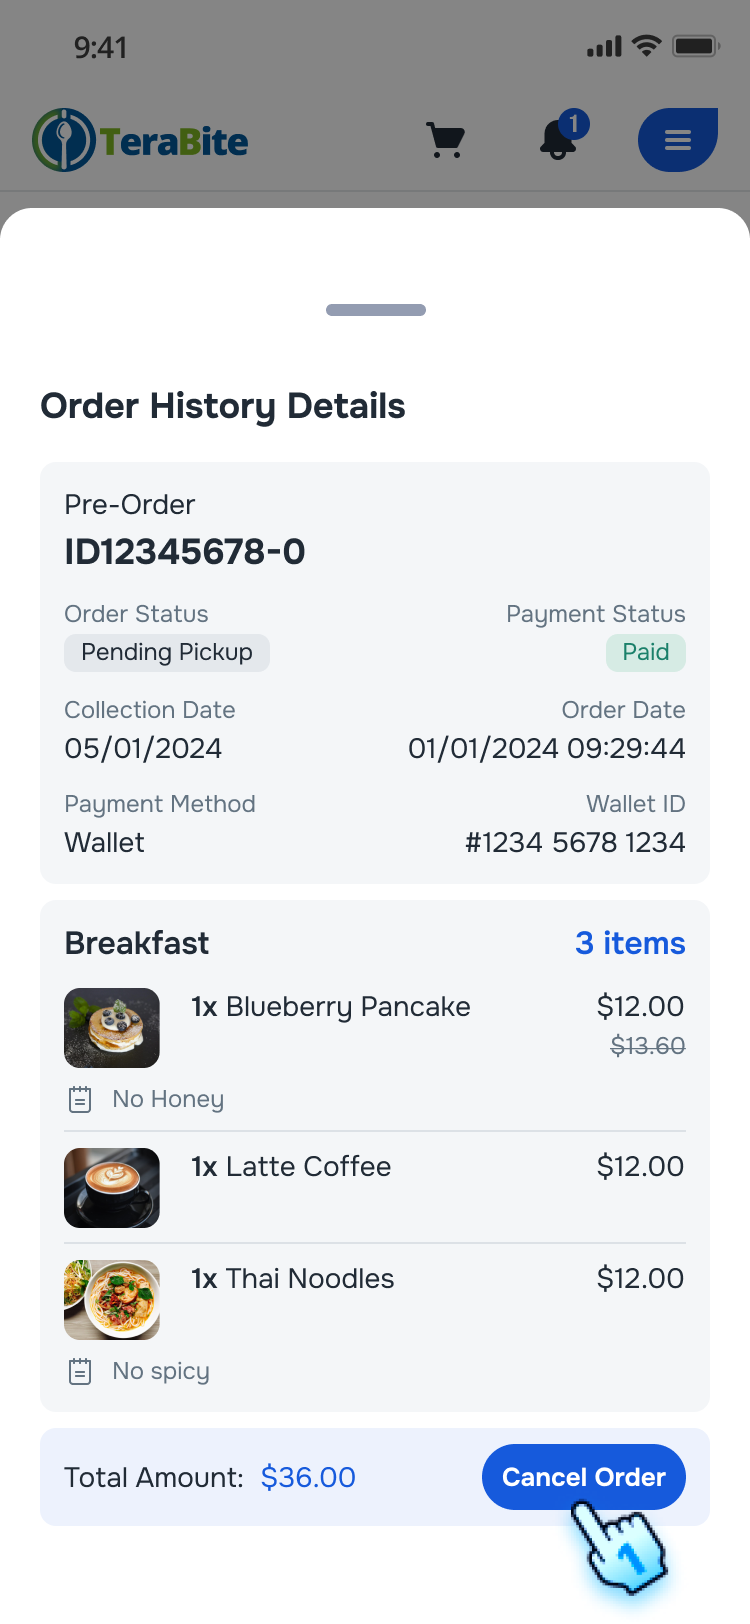
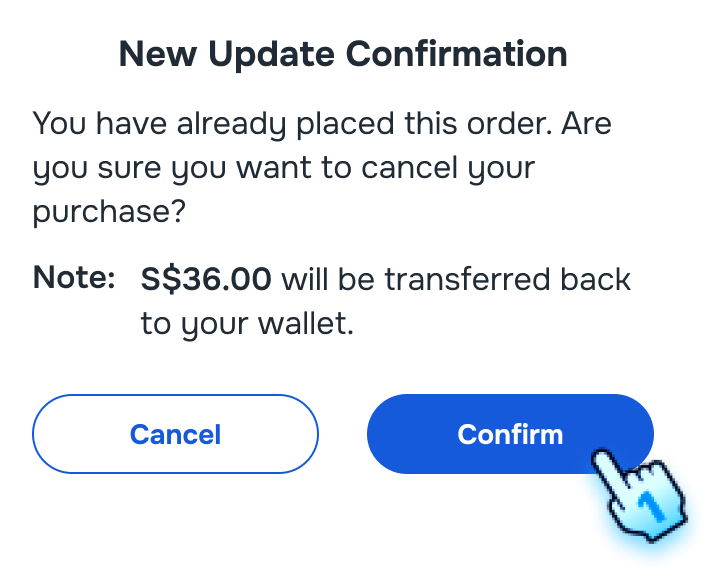
- Cancel Order Before Cut-Off Time
- Navigate to the pre-order details page.
- Click the "Cancel Order" button for an eligible order.
- A cancellation confirmation dialog will appear.
- Confirm the cancellation by clicking "Cancel."
- A confirmation message will indicate that the order has been canceled successfully.
- Attempt to Cancel Order After Cut-Off Time
- If the order is past the cut-off time, the "Cancel Order" button will be hidden.
- The user will not be able to cancel the order.
Conclusion
The Principal Account section provides a detailed guide for managing accounts and sub-accounts, including viewing details, canceling pre-orders, and adding new members. These steps help users maintain control over their accounts and sub-accounts, ensuring a smooth experience.